
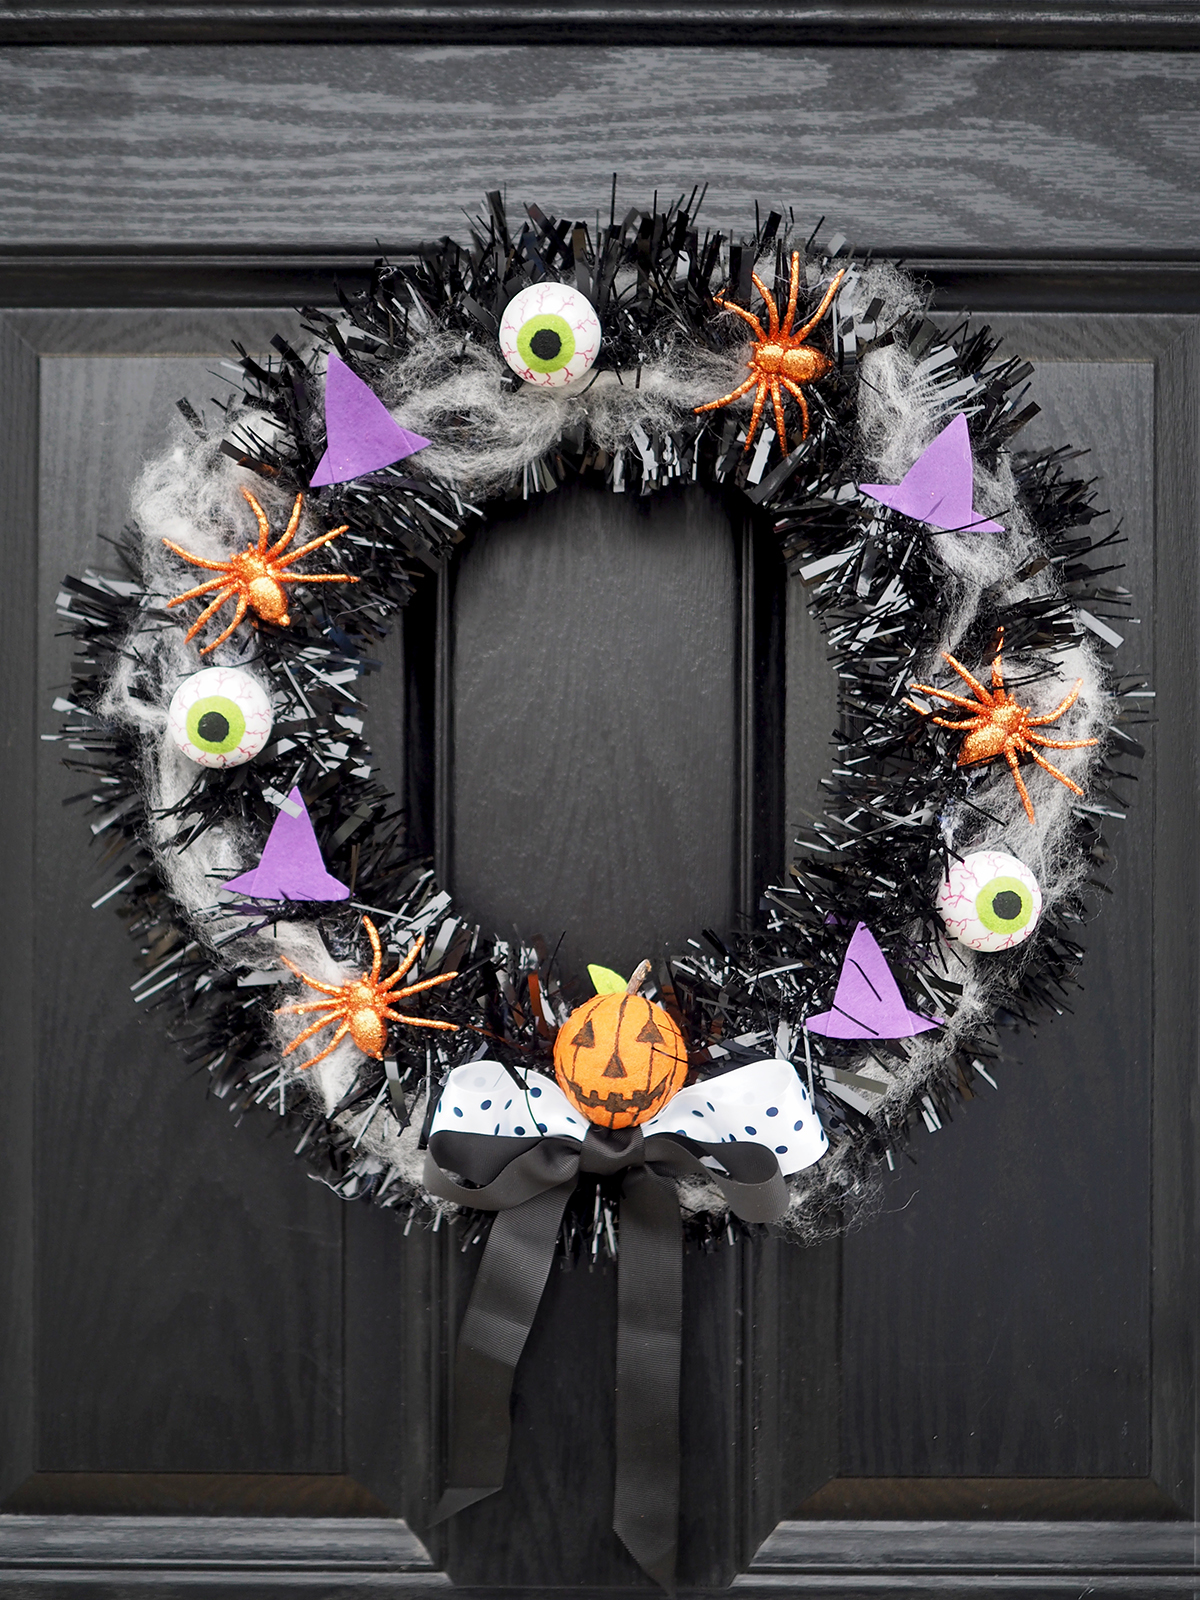
Today's post is another DIY and I'm showing you how to make your own Halloween Door Wreath. I'm so into Halloween this year and really wanted a cool and unique front door wreath to hang up this year. So I decided to make my own.
I've used quite a few bits I already had to create this DIY but you can buy so many cheap Halloween craft items which would look so cool. I got my polystyrene ring from Hobbycraft and there is loads of sizes available. My felt and glitter spiders came from Home Bargains and I already had lots of ribbon and a packet of polystyrene balls but these you can also get in most craft shops or £1 shops. You'll also need a glue gun and a cool melt one is better for this diy as it prevents the poly and the tinsel melting. I only have a hot melt so I was just careful with where I applied my glue.
Here's how I made this Halloween Door Wreath.

you will need
POLYSTYRENE RING | BLACK TINSEL | RIBBON | COLOURED FELT | POLYSTYRENE BALLS
PLASTIC SPIDERS | FAKE COBWEB | GLUE GUN | SCISSORS | BLACK PAINT

STEP ONE
Paint your poly ring with black paint. I've used a tester pot of black emulsion.
Leave to dry.

STEP TWO
While your ring dries make your decorating elements.
I made witches hats by cutting up some purple stars I already had but you can cut the shape straight out of felt.
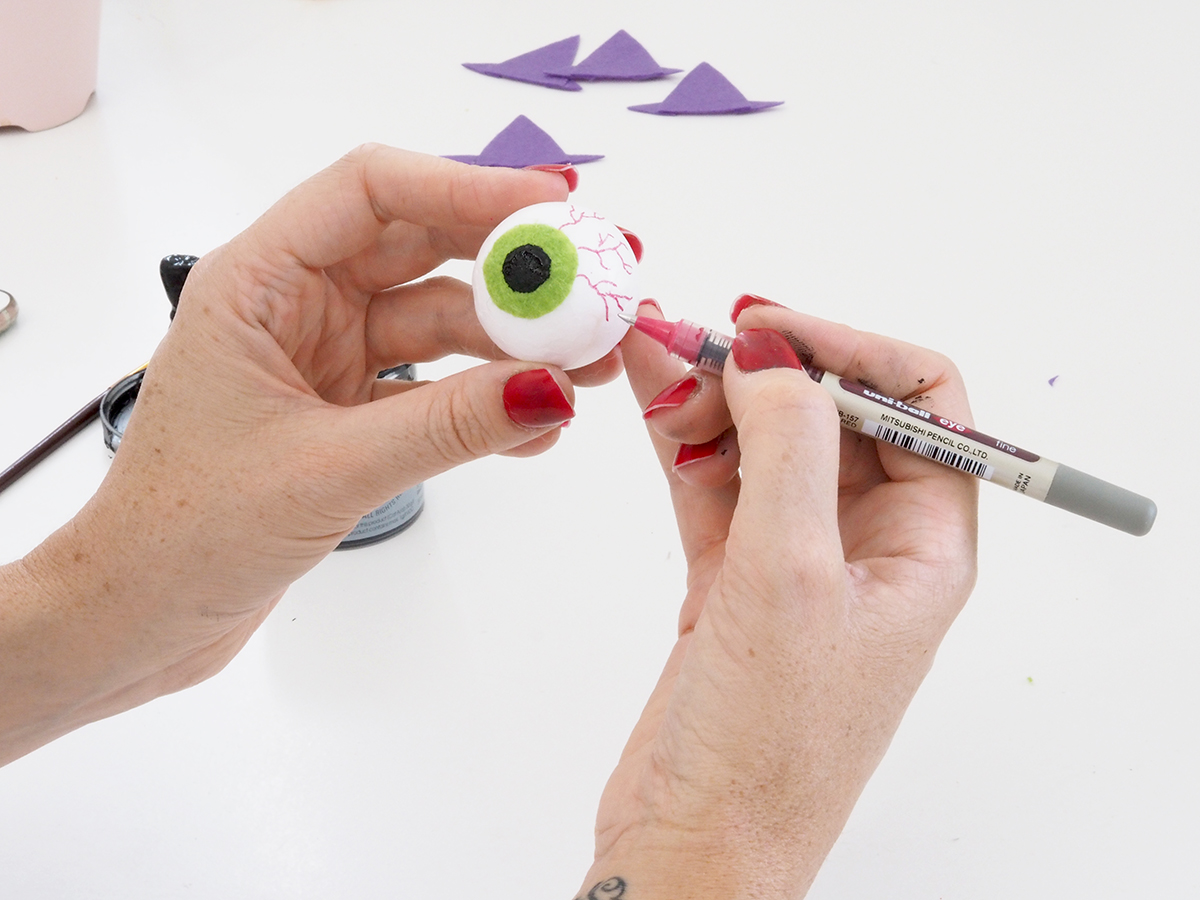
STEP THREE
Use your polystyrene balls to create eyeballs. Cut a small circle of green felt and glue to the poly ball.
Apply the hot glue to the felt first so it doesn't melt the poly.
Use black paint or felt tip to draw the pupil then using a red pen create veins.

STEP FOUR
I created a pumpkin using a poly ball cut in half covered in orange felt (you could also paint it)
Use black paint or a felt tip to draw the lines and carved face on the pumpkin.
I also used a real twig to create stem and used hot glue to attach it and a small felt leaf.

STEP FIVE
When your ring is dry, wrap wire around the top for hanging the wreath. Dot some hot glue to hold its position.
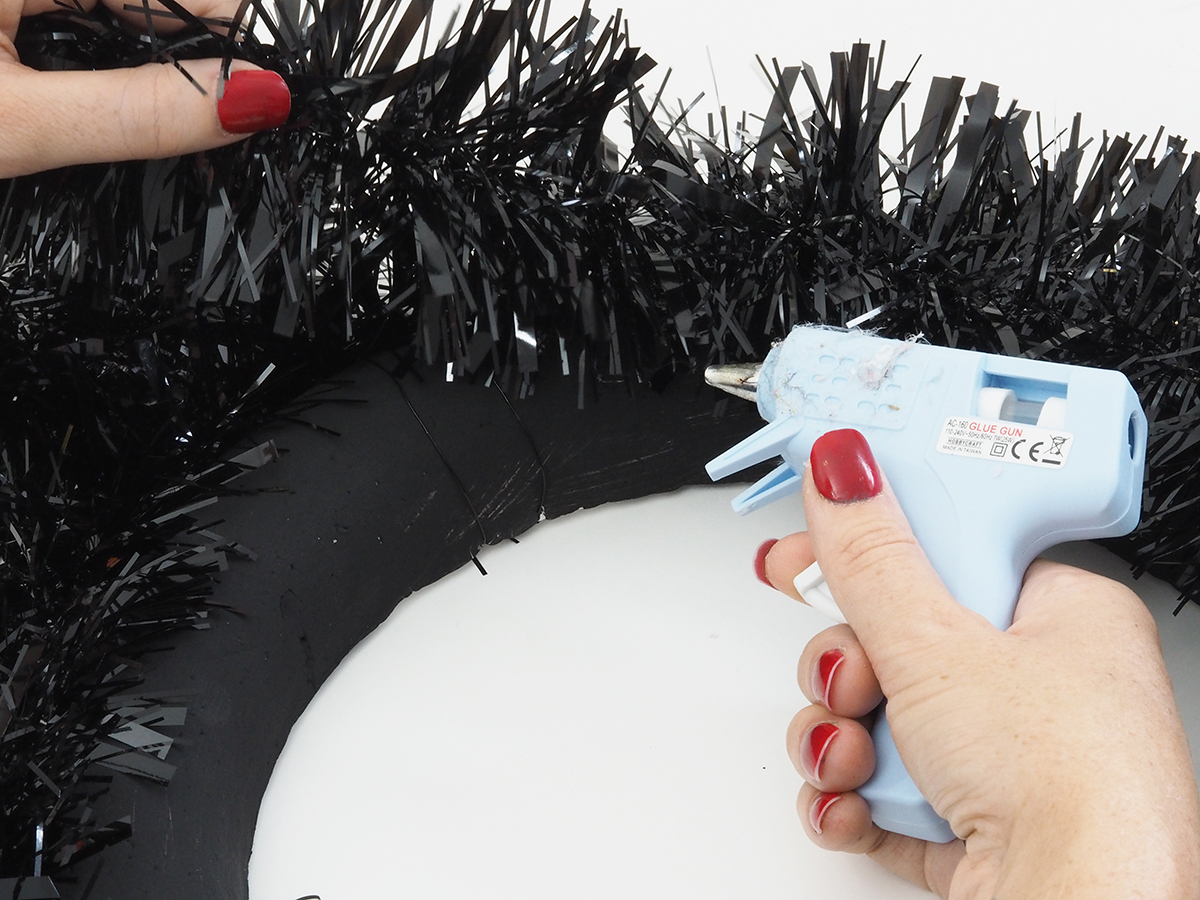
STEP SIX
Attach the black tinsel using hot glue. I glued mine around the outside first then along the front of the ring.

STEP SEVEN
Tease out some fake cobweb into a long thin piece and glue onto your wreath using small dots of glue. You can pull the web out to make some parts wider

STEP EIGHT
Make a bow using your ribbon. I created mine using black ribbon with the wider spotted ribbon behind securing the centre with wire and then using a small piece of ribbon and the glue gun to wrap the centre of the bow.
Attach to the ring using the wire and glue at the back to secure.
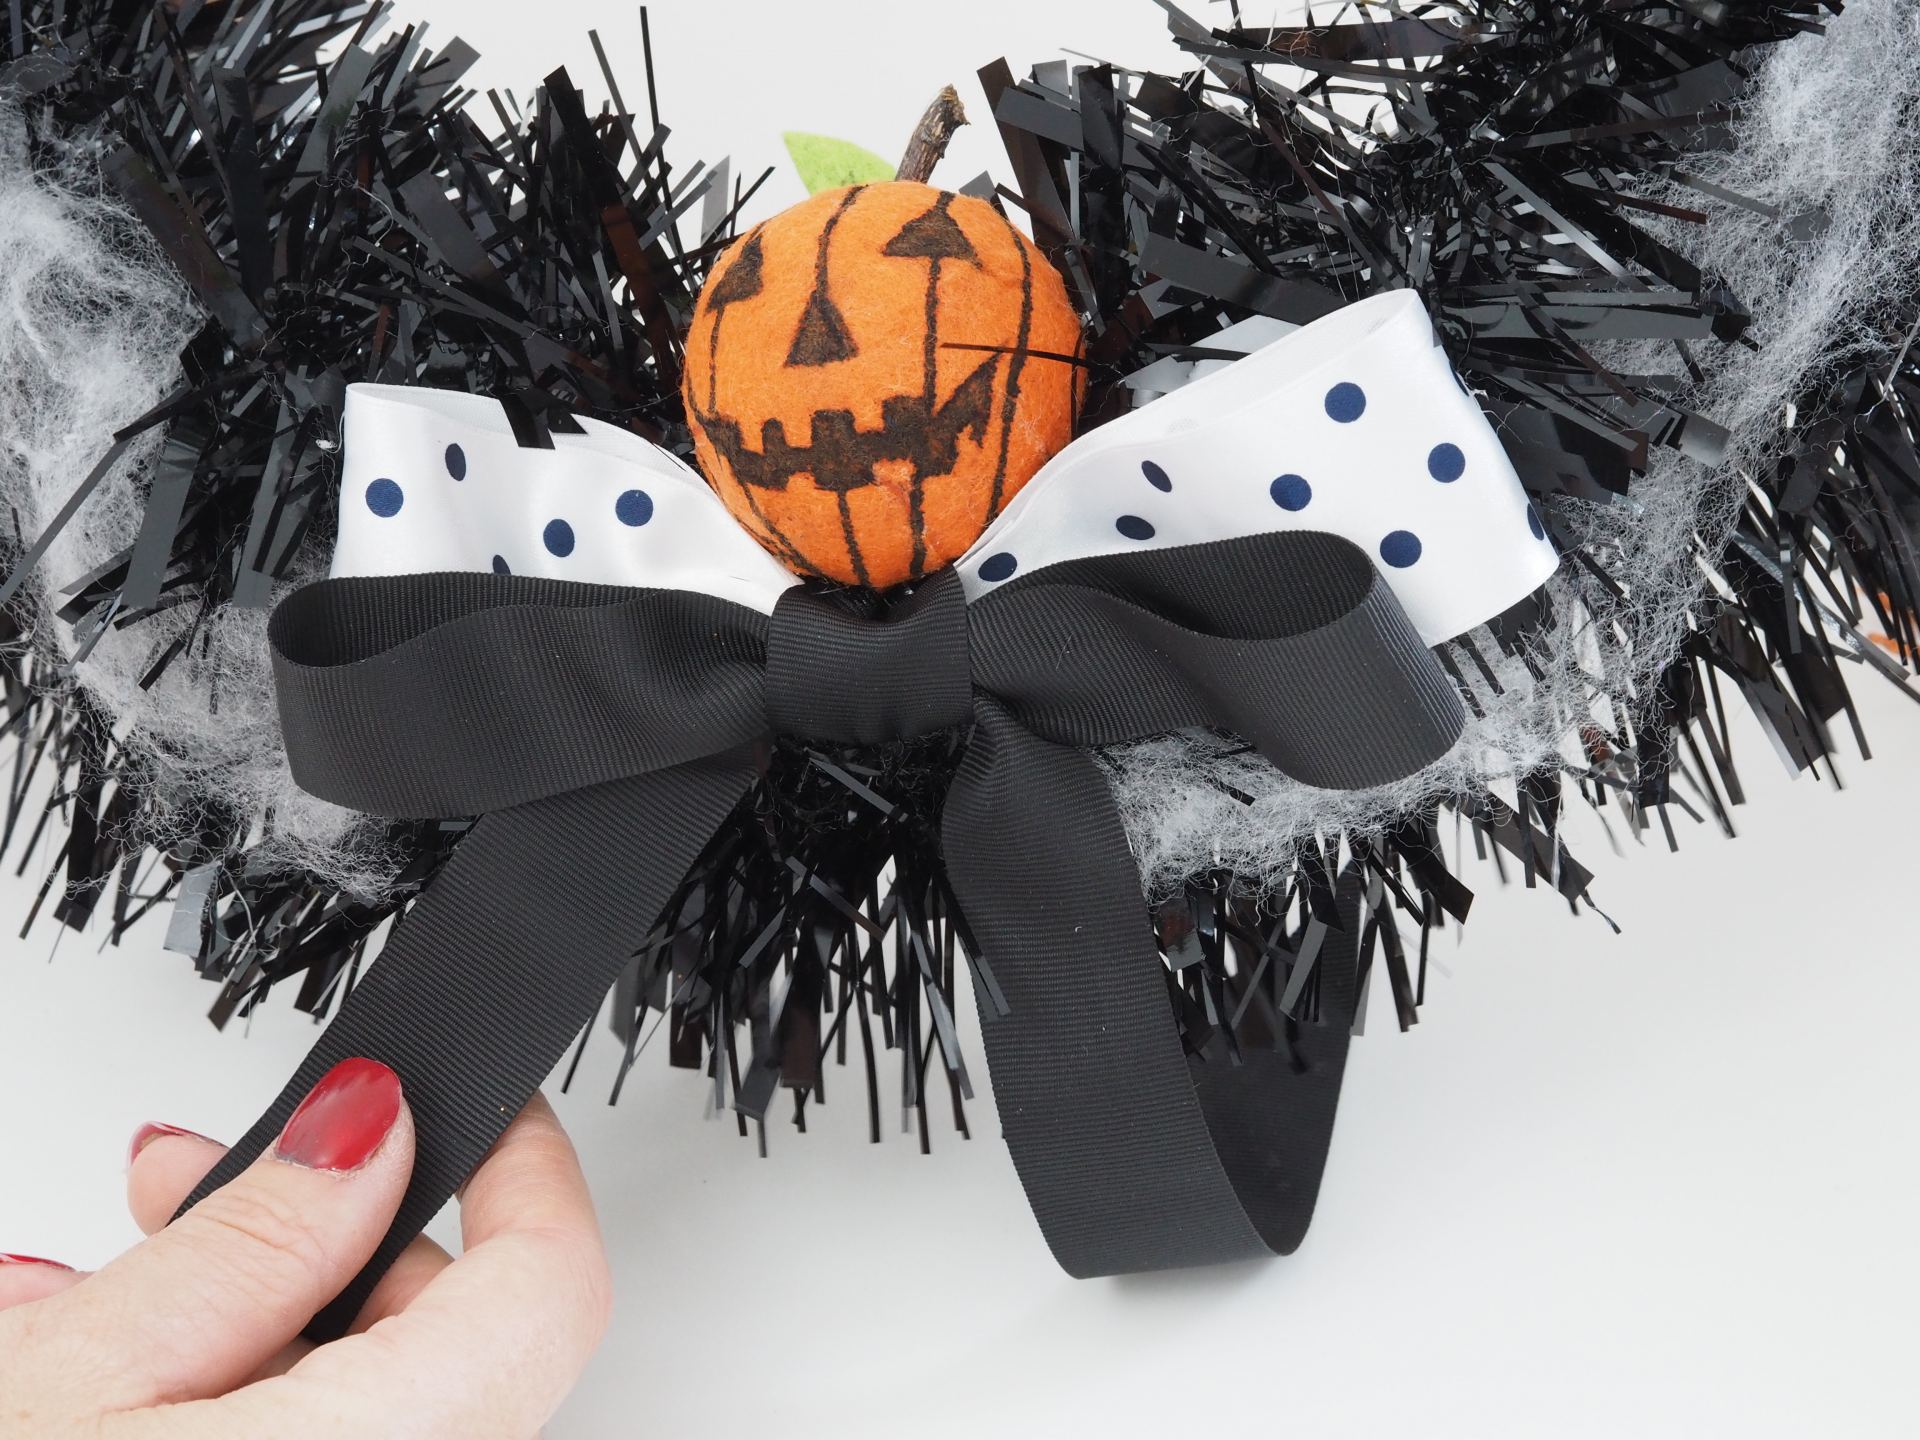
STEP NINE
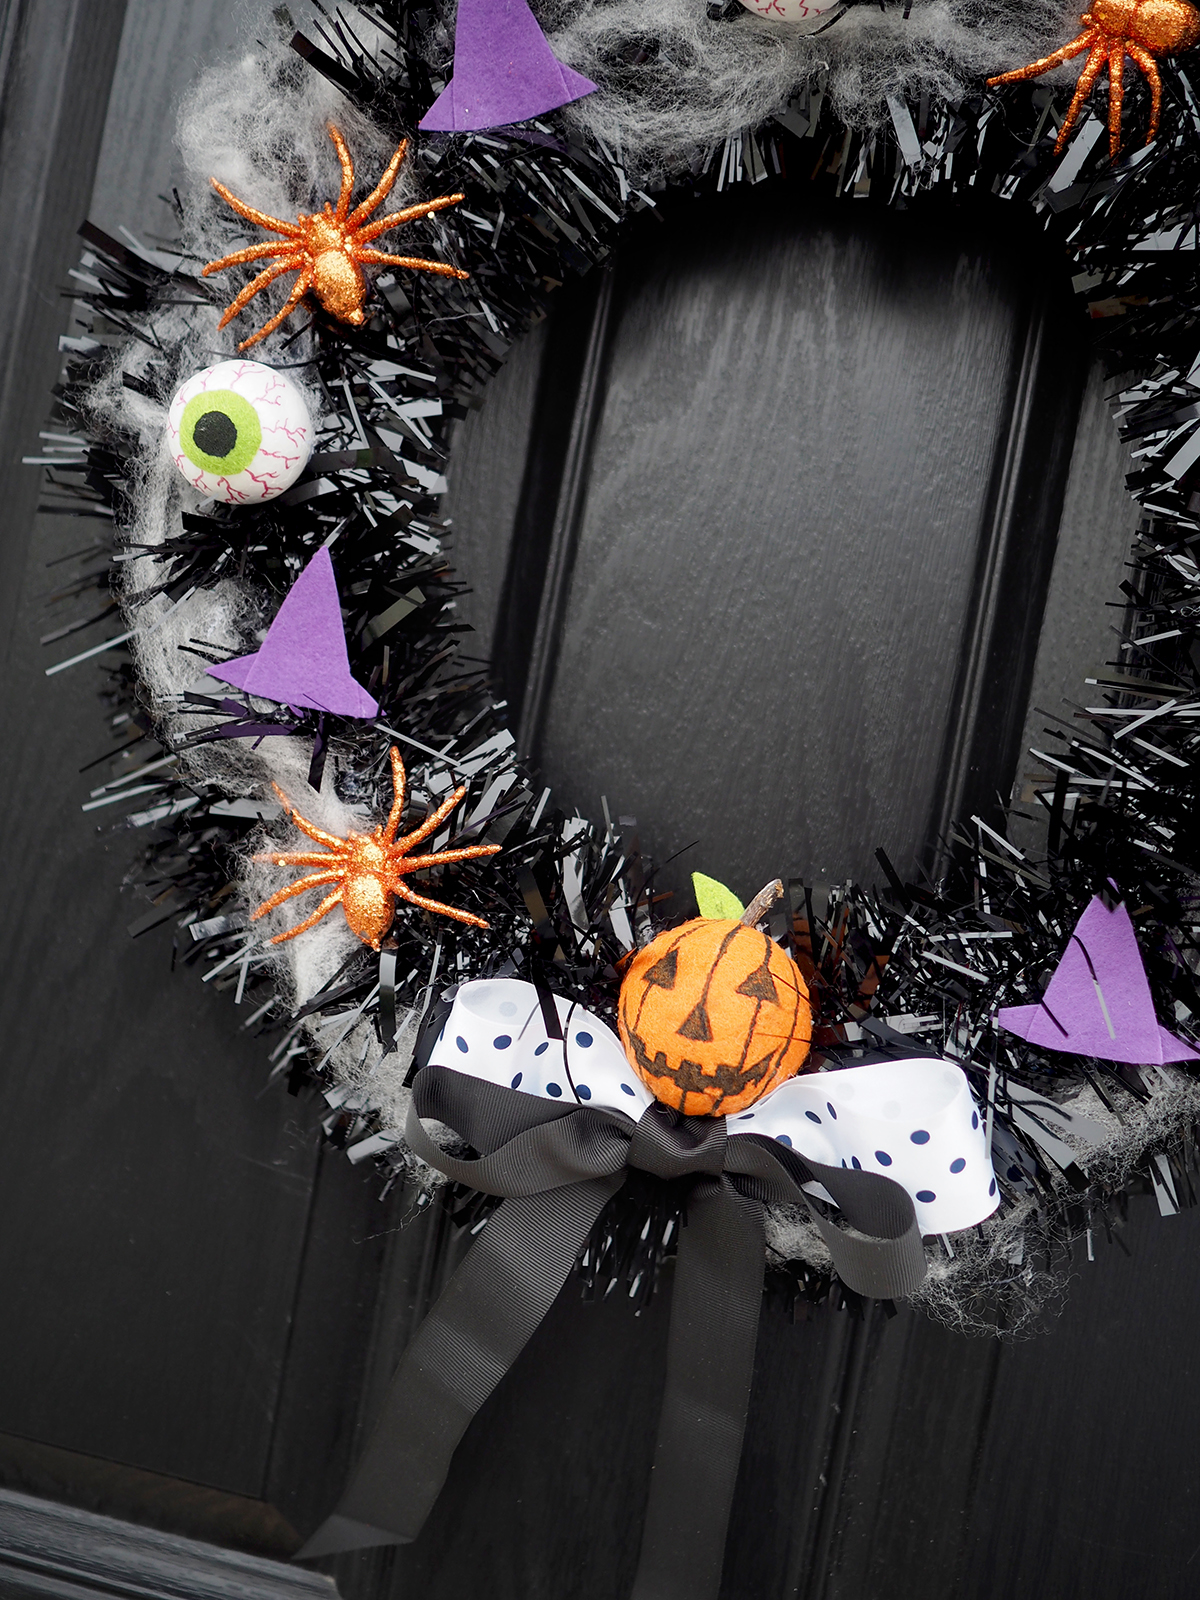
Use the glue gun to secure the bows shape and attach the mini pumpkin to the centre of the wreath.

STEP TEN
Lay out all your elements on the wreath to plan out
your design.

FINAL STEP
Work your way around the wreath glueing your decorations on.
Try and embed them into the tinsel and web, you can then tease the web across elements too.
Leave to cool.
Use the wire to attach to your front door knocker.
FINISHED!
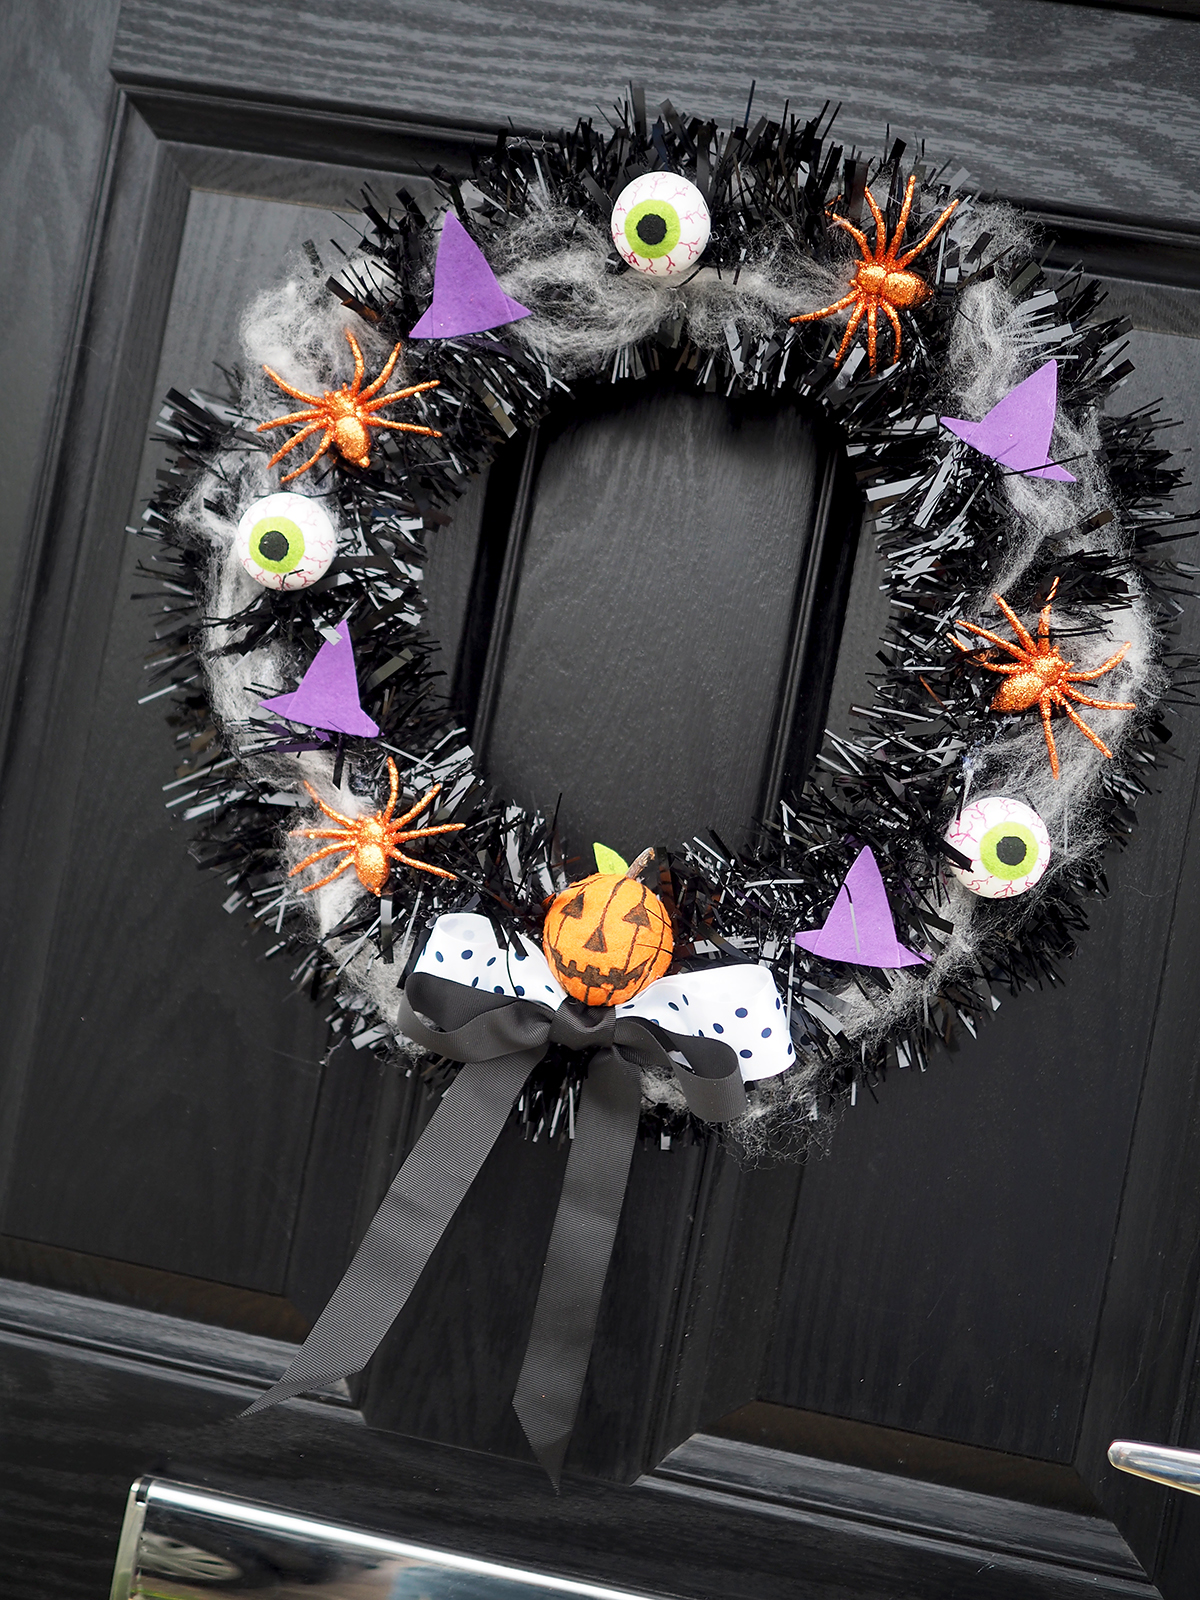
I can't wait to hang this Halloween Door Wreath on my front door. I love how it turned out and its definitely one I'll be getting out every year.
I hope you love todays Halloween DIY post, do also check out all my other DIY Posts too.
Happy DIYing!
Debs
x


4 Comments
This looks brilliant!! Will you be doing a Christmas version too? I’d be really keen to see that and pinch some ideas off you.
Hi lovely, yes I am going to do a Christmas version and a bauble version too on my youtube so keep an eye out xxx
This is such a cool idea, that wreath looks amazing!!
Julia // The Sunday Mode
Thank you so much x